Writing Data Back to the Source System
HelloID is an identity and access management (IAM) solution that acts as a broker between your source system, such as an HR system, and target systems, such as Active Directory (AD), Azure AD, or Google Workspace. Earlier, we explained how to import HR data and map source data. In this blog, you will learn everything about writing data back to your HR system. This includes available options and key considerations.
You can connect many types of source systems to HelloID. The IAM solution primarily uses a source system to import HR data. HelloID needs this information to manage both user accounts and permissions. In some cases, you also want to write data from HelloID back to your HR system. HelloID enriches data, especially during onboarding. In many cases, you want to feed this enriched data back to your source system. For example, an email address that HelloID creates in, for instance, (Azure) AD or Google Workspace, based on data from your source system.
Getting Started With Writing Data Back
You write data back to your source system by using a target connector. In this case, you configure your HR system not only as a source but also as a target. For every popular HR system that technically supports this, such a connector is available. In this example, we use AFAS as the HR system. Do you use a different HR system? The procedure may differ in some areas.

In this example, we want to write a user's email address and User Principal Name (UPN) back to AFAS. The HR system stores a business email address for a user based on the person, and a UPN based on the InSite account. For both fields, we create a separate target connector to ensure that HelloID writes the data back to AFAS correctly. You do this in the HelloID Provisioning dashboard by creating a new target connector under Target Systems for both fields.
Importing and Configuring Target Connectors
In the public HelloID GitHub repository, you will find target connectors for all popular HR systems, including AFAS. Note: for AFAS, two target connectors are available for writing data back, one for persons and one for users. When configuring both fields, ensure you select the correct connectors.

You download several scripts from the repository and import them into HelloID. The exact files depend on the target connector you configure. For the AFAS target connector for persons, these scripts are required:
create.ps1 to create new data
update.ps1 to update existing data
configuration.json to create configuration options and adjust the connector configuration
For the AFAS target connector for users, the following are also required in addition to the scripts above:
delete.ps1 to delete accounts
disable.ps1 to disable accounts
enable.ps1 to enable accounts
Do not be put off by the word scripts, because you only need to copy the file contents and paste them into HelloID. You do this by clicking the 'Configure' button for each account lifecycle action and then pasting the corresponding PowerShell script. In the near future, HelloID Provisioning, just like the templates of delegated forms in HelloID Service Automation, will integrate directly with GitHub. Copying and pasting will no longer be necessary, and the connectors can be searched and imported directly from within HelloID.
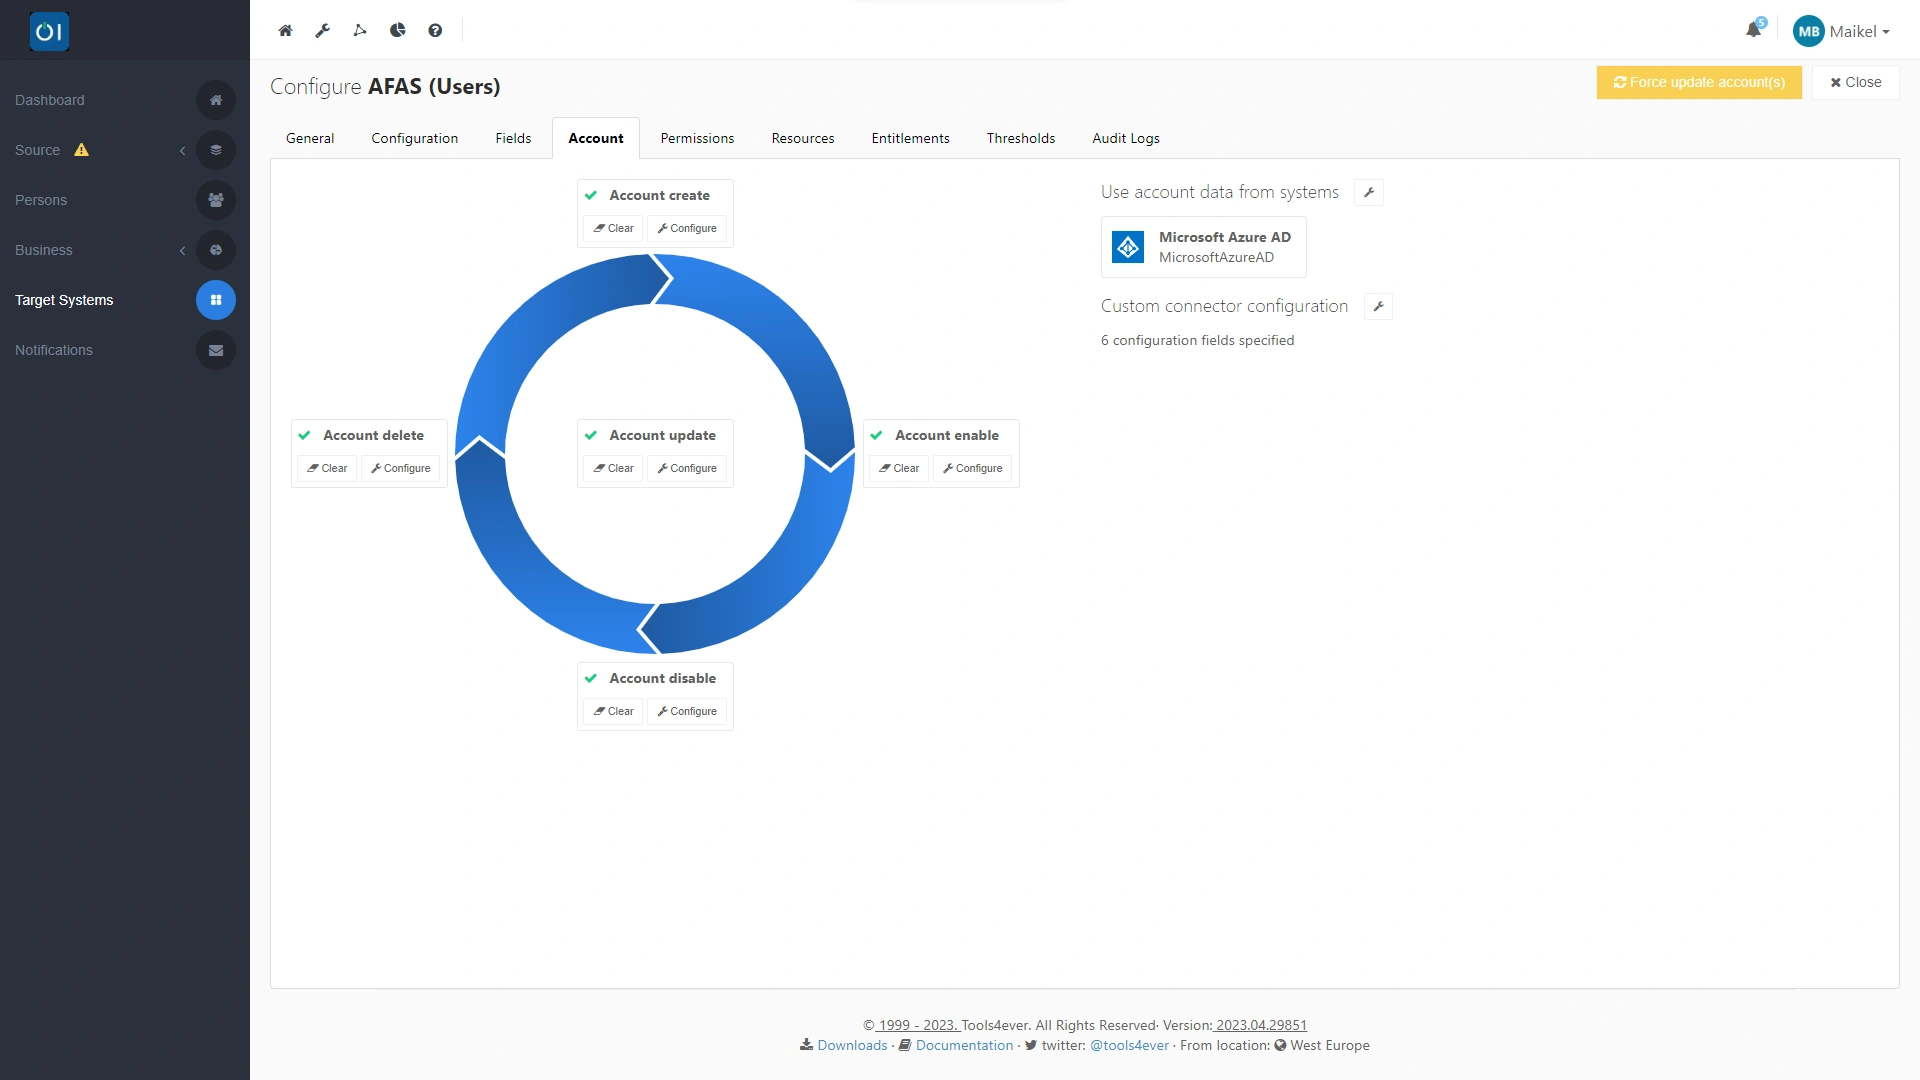
After importing the scripts, you can start configuring the connector. Using configuration.json, you have added configuration options to the connector dashboard.

This means you can configure the key settings through the graphical interface. On this tab, you enter, among other things, a URL to call the Profit REST services as well as a token in XML format.

Enforcing Execution Order
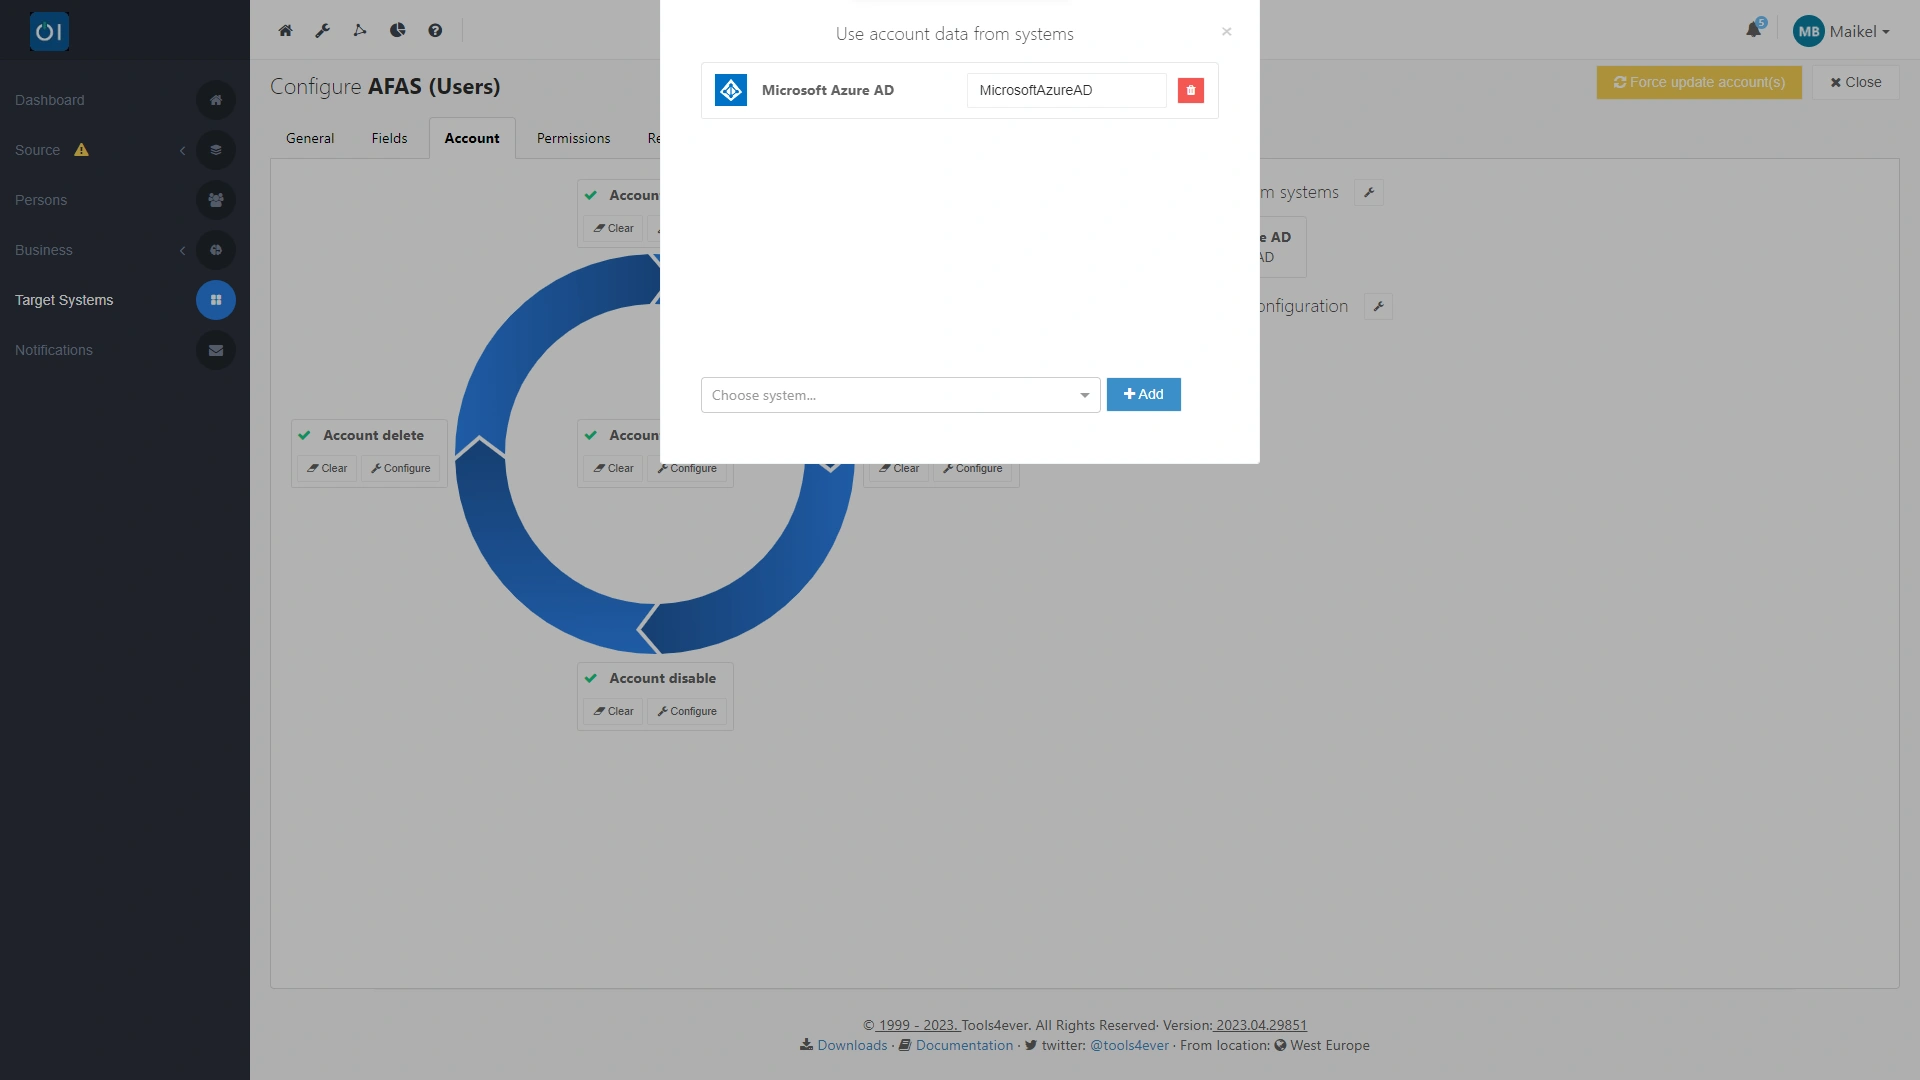
If HelloID creates an account in AD or Azure AD, for example, and thereby generates a UPN, you need to ensure that HelloID writes this UPN back to your HR system. This value is used for SSO in AFAS. You do this by linking the target connector and creating a dependency on your directory. This guarantees the correct execution order. This way, HelloID passes the UPN to the target connector after the account is created, and the connector then writes the information to the HR system.
Testing the Target Connector
Do you want to test how the target connectors work? You do this with a so-called 'dry run'. In practice, this means that HelloID skips executing the actions so you can test the connector easily and without risk. In that case, the connector still retrieves all data, but does not actually write it to your HR system. You perform a dry run by enabling this option in the configuration.

Adding Business Rules
Once you have configured the target connectors, you can start setting up business rules. With these rules, you define the actions that HelloID executes. Thanks to the target connectors, you can now also include writing data back to your HR system, in this case, AFAS.
Get Started
Ready to start writing data back to your source system? Also, watch this short video that explains how to configure the required target connectors. Do you have questions? Contact us; our experts are happy to assist.