
Service Automation – Create Your Own Delegated Forms
The Identity and Access Management (IAM) solution HelloID from Tools4ever includes a range of useful features and options that help you save time and increase efficiency. A good example is the Delegated Forms capability in the HelloID Service Automation module. These forms allow you to standardize tasks and delegate them to others. This article explains how to configure Delegated Forms and helps you get started.
What are Delegated Forms?
As a service desk or help desk, you are always looking for ways to work more efficiently so you have more time to support users effectively. The Delegated Forms included in HelloID Service Automation are a practical tool for this. With these forms you can streamline many tasks and significantly automate them. You can also delegate tasks to colleagues in other departments without requiring extensive permissions or technical expertise. These employees are often referred to as key users.

The tasks you can perform with Delegated Forms are wide-ranging. Examples include resetting a colleague's password and changing a specific user's group membership. Other examples include creating a new account, managing a Teams channel, or managing mailboxes in Exchange. Want to learn more about Delegated Forms? Also read our earlier blog 'Getting started with HelloID - Service Automation - Delegated Forms', where we go deeper into Delegated Forms, the capabilities, and the benefits.
Creating Delegated Forms
You can import standard forms from GitHub and adjust them as needed, or build forms from scratch. In both cases you are in control. You decide which elements to include, how to display fields, and which actions to link to a Delegated Form. By designing forms correctly you maximize their added value. You want to request all required information up front, avoid ambiguity in your questions, and, if needed, pass relevant data directly to other forms.

How you design a form strongly influences this. A streamlined design results in a smooth and efficient process that saves time. You should therefore align a Delegated Form precisely with the task it performs. This requires selecting the right elements and configuring them optimally.

Selecting the right elements
HelloID helps with this. There are more than 20 elements available that you can use to collect various information. These include standard fields for textual input as well as masked fields for entering passwords. You can also add various types of lists to a form. For example, a drop-down list that lets users choose from multiple options. If you want users to select multiple options at once, use the 'checkbox input', which allows users to check all desired options. A third option is a 'dual list'. In this case the form includes two lists between which the user can move items with a single click to create the desired selection.

You can add these and other elements by simply dragging them onto your form. You control the order of elements and can change it easily. By default HelloID displays elements stacked vertically. With the 'row element' you can deviate from this and, for example, show three elements side by side on the form. This is useful if you want to display first name, middle name, and last name as input fields next to each other.

Configuring elements
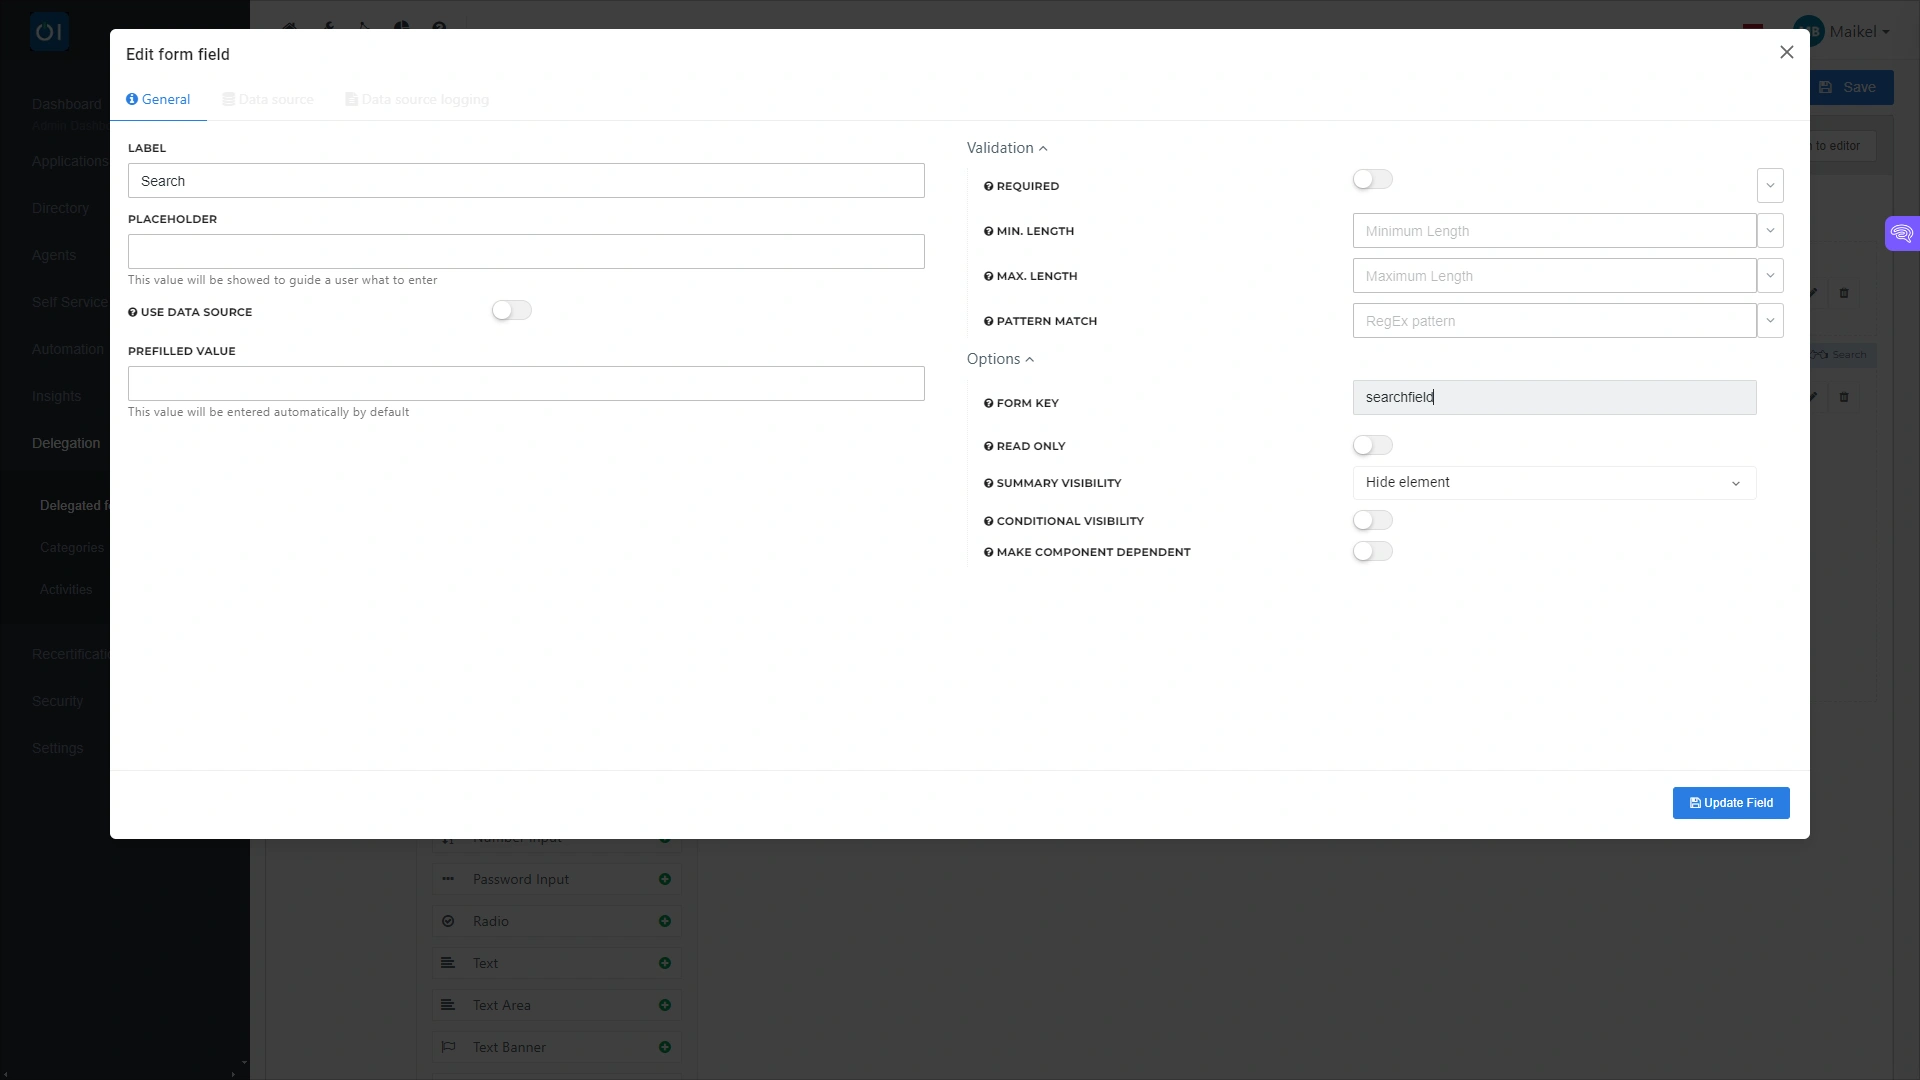
You can configure the different elements on a Delegated Form independently. This controls the behavior of the element as well as how it is displayed. For example, you can set a hint to help users identify the value they must enter in a specific field.
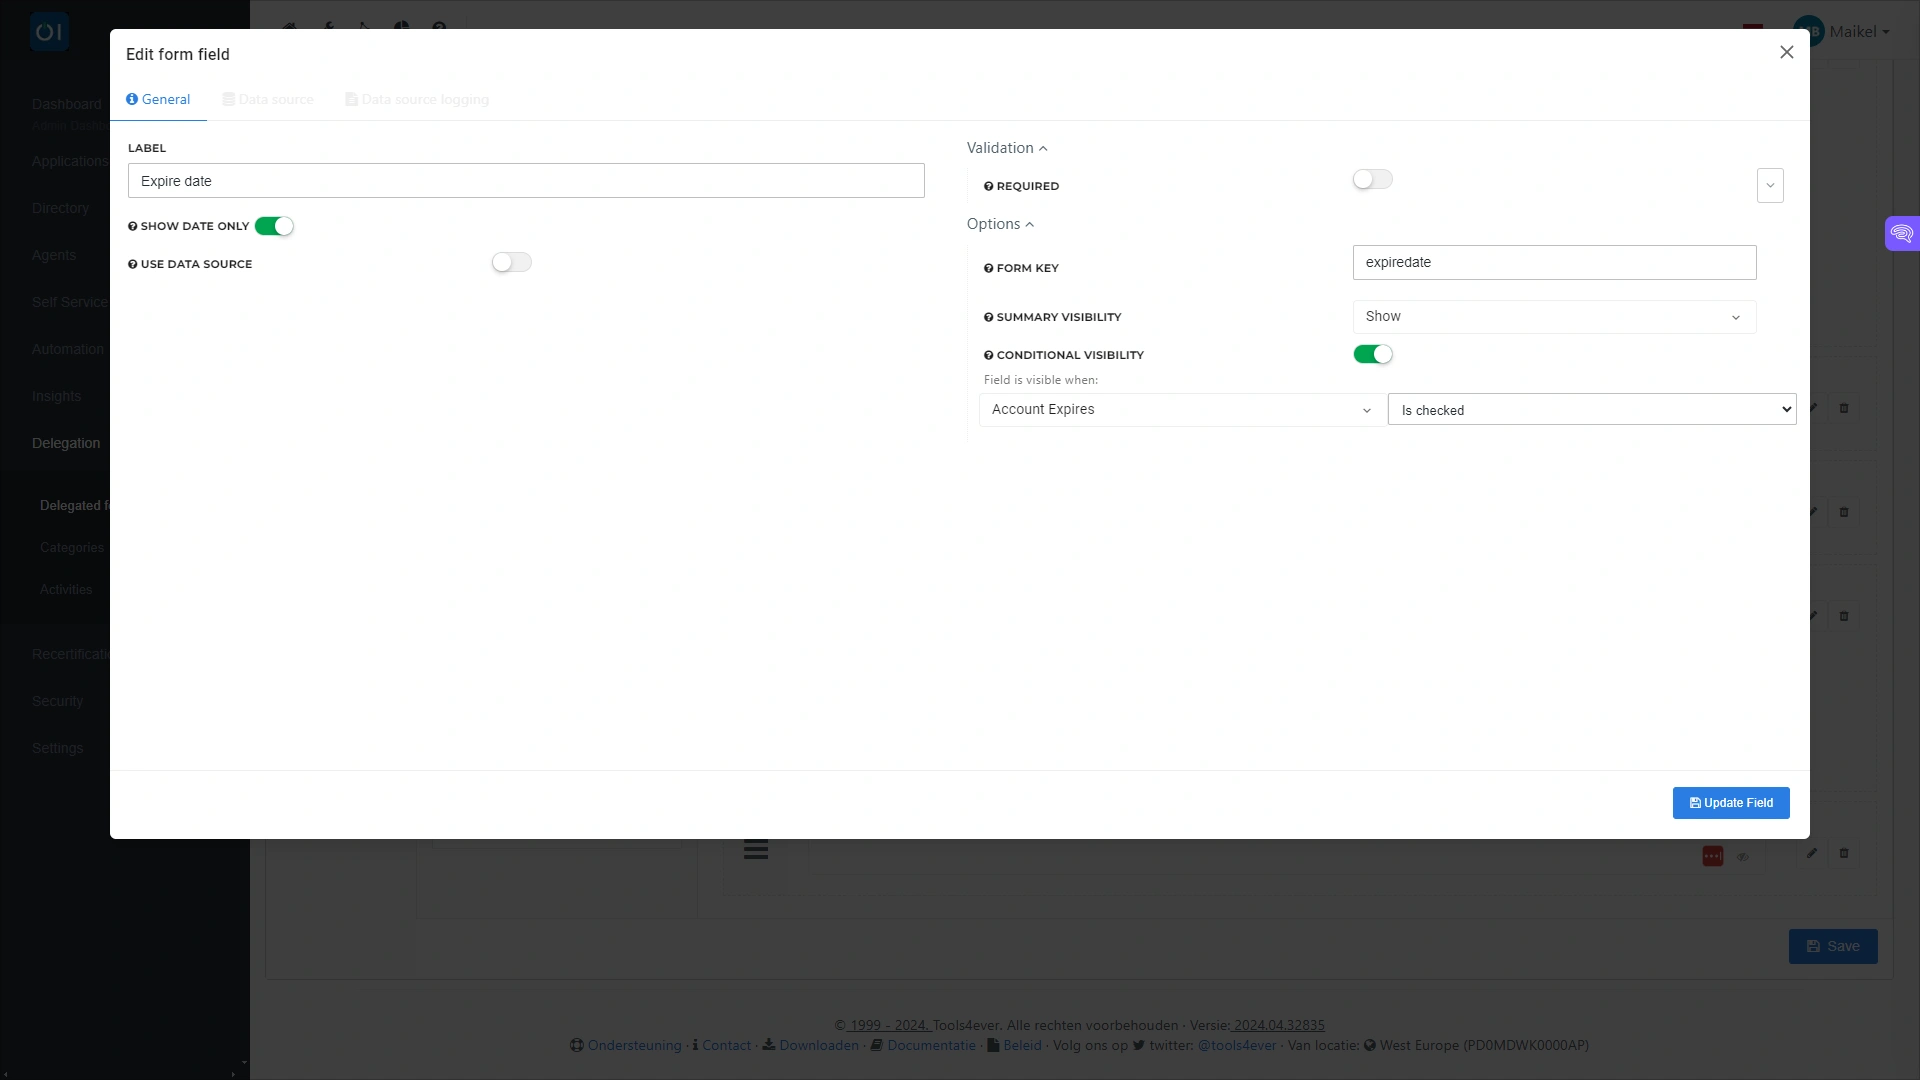
You can also make the display of a field conditional on specific input. This is relevant for the 'date picker', an element that allows users to enter a date and time on a Delegated Form. In the configuration of this element you can link the display of the date picker to specific conditions. This makes it possible to show the field only when the 'Account expired' option is set to 'True'. Or to show the field when the user selects a specific option on the form. In the configuration you also decide whether to require both date and time or only a date.
Pre-filling data
In some cases you request information on a form that is the same for many users. You can pre-fill a default value that is relevant for most users. Only users for whom the value differs need to change it.

You can load pre-filled data from several sources. HelloID supports four types of data sources:
PowerShell data source: A data source based on a PowerShell script to generate data from systems such as Active Directory. This source allows data to be retrieved in real time.
Static data source: A static data source in which you define a JSON object with specific choices that you make available to the end user. This option is useful if you work with multiple forms that include the same element and you want to configure that element the same way in all cases.
Native data source: A native data source makes it possible to retrieve data such as groups and users from HelloID itself.
Task-related data source: A data source based on a task in HelloID that is available in the task catalog. Note: this data source is no longer actively supported and offers lower performance compared to a PowerShell script. Therefore choose a PowerShell data source whenever possible.

Retrieving user input via a unique key
In some cases you want to be able to recall the input a user entered in a specific field. For example, when you want to use that input in another form. This is possible through the keyfield, a unique key linked to a specific element of your form.
If you use PowerShell or task-related data sources, you can also pass variables from the form input. For example, you can use the data source to look up a user in Active Directory. HelloID then uses the user's input as the search term. This makes it possible to retrieve and manage group memberships through a Delegated Form.
Get started
Delegated Forms provide a simple, streamlined method to execute a wide range of tasks automatically. Here is the process in brief: a service desk employee or key user opens a Delegated Form, after which the predefined form loads with the elements you configured. If desired, HelloID automatically loads certain data so users only need to review it. The user then completes the form, after which HelloID displays a summary of the entered data for review. If the input is correct, the user submits the form. HelloID then automatically performs the actions linked to the form through a PowerShell script.
Want to learn more about HelloID Service Automation? You can find more information here. Have questions? Contact us!